Source Control
When managing your custom assistants within an organization, you might want to take advantage of your usual source control workflows. Continue makes this easy with a GitHub Action that automatically syncs your YAML files with hub.continue.dev. We are also planning on adding automations for GitLab, BitBucket, Gitee, and others. If you are interested, please reach out to us on Discord.
Quickstart
This quickstart uses a template repository, but you can also follow these steps 2-4 from an existing repository.
1. Create a new repository from the template
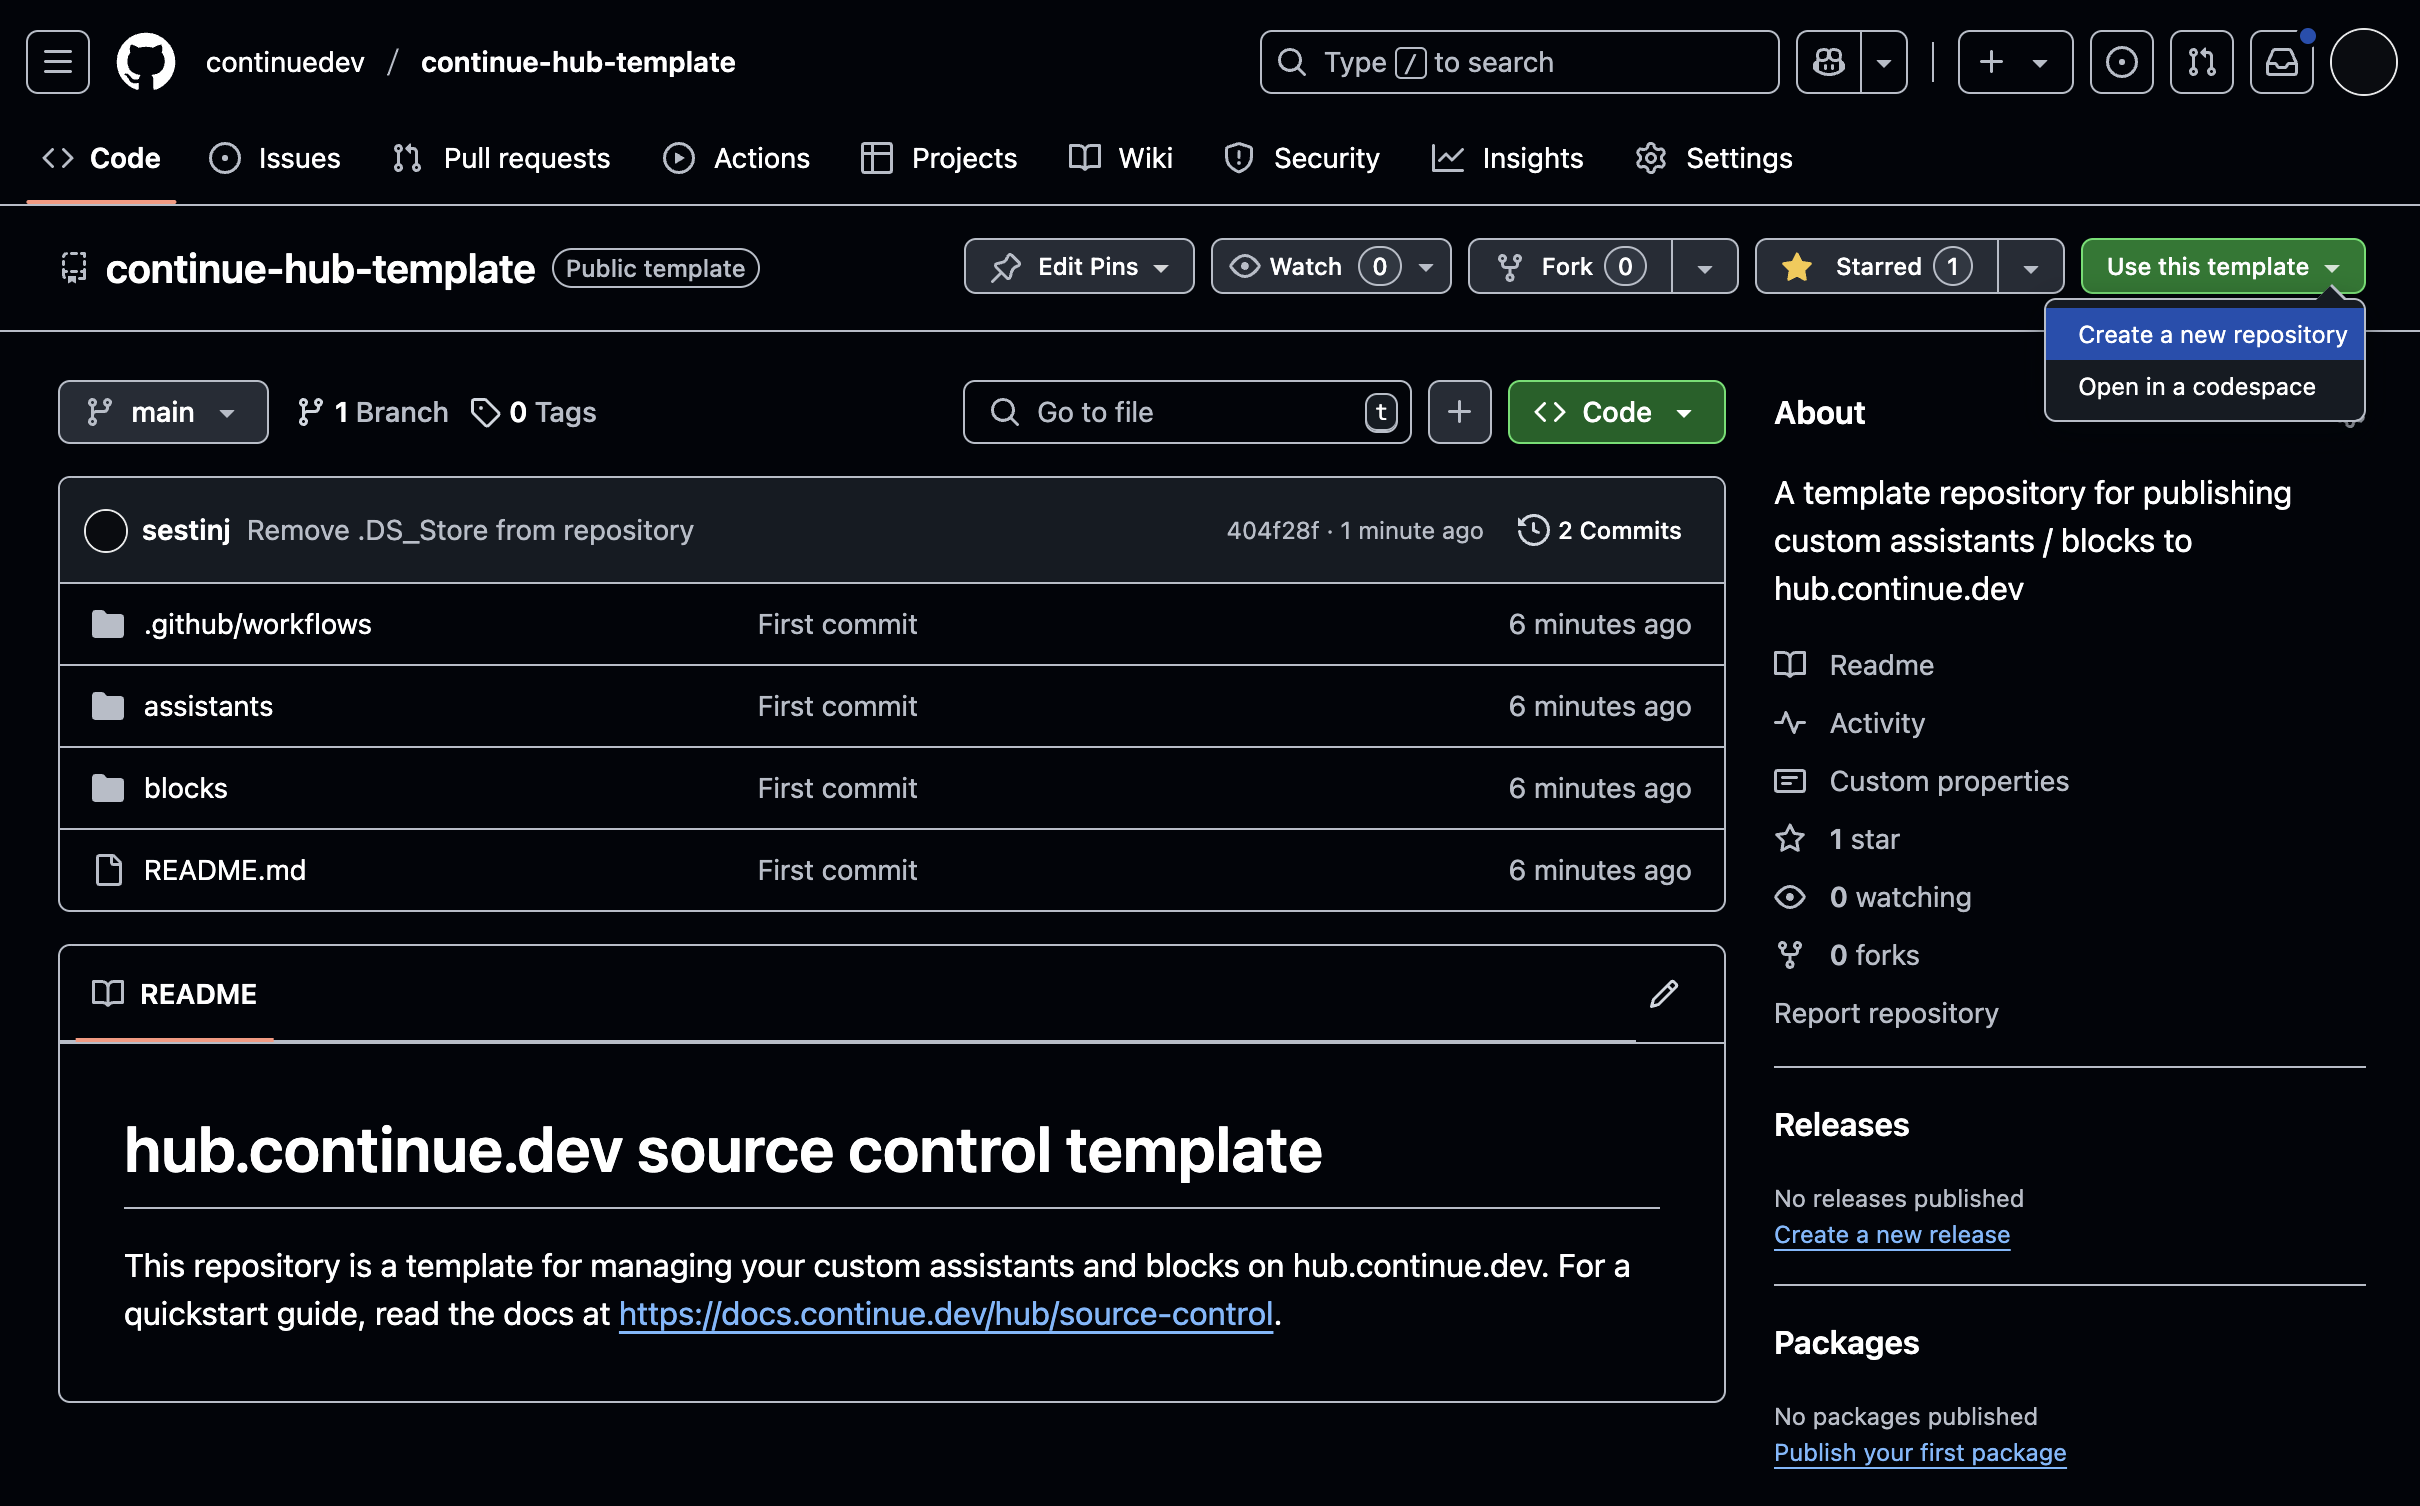
As shown in the image below, start by creating a new repository from the template. Click "Use Template" and then "Create a new repository".
2. Obtain a deploy key
Deploy keys allow the GitHub Action to authenticate with hub.continue.dev. Obtain your deploy key here and then create a secret named CONTINUE_API_KEY in your GitHub repository.
3. Configure the GitHub Action
This step assumes you have already created an organization on hub.continue.dev. If not, learn more here.
In the repository you created, navigate to .github/workflows/main.yaml and update the lines below to match your organization:
env:
  OWNER_SLUG: my-org-slug # <-- TODO
This is the only configuration necessary, but you can view the full list of options here.
4. Commit and push
Add the YAML for your assistants and blocks to the appropriate directories:
assistants/publicfor public assistantsassistants/privatefor private (visible only within your organization) assistantsblocks/publicfor public blocksblocks/privatefor private blocks
Then, commit and push your changes. Once the GitHub Action has completed running, you should be able to view the assistants within your organization on hub.continue.dev.